5th Grade:
#3: Tackling Asymmetrical Compositions through Landscapes
I don't want to develop a landscape lesson in which all the students follow my steps. Instead I'd rather teach the students how to successfully develop their own landscape. All the cool tips and techniques won't matter, though, unless the underlying composition is interesting. So how does one design a successful composition. Whoa. That's a heavy question. If we are going to figure that out, we are going to need to take that idea and break it apart, and then break it again, until we can slowly start piecing it back together. That's when the "light bulb" goes off and students realize that it is starting to make sense. Then I can take that big, not-so-heavy-anymore idea and hand it off to them, only to ask an even heavier question. "So, now that you've figured it out...what do YOU want to do with it?" To prepare for this lesson, we looked at artwork from three master artists: William Turner, Vincent VanGogh, and Grant Wood. I tried to pick a wide representation, and also compositions that had both high and low horizon lines. They placed plastic transparency film over photocopies and each student used dry erase marker to draw the horizon line and break the composition down into basic shapes.

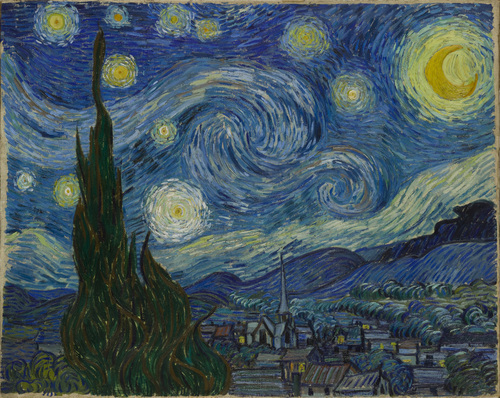
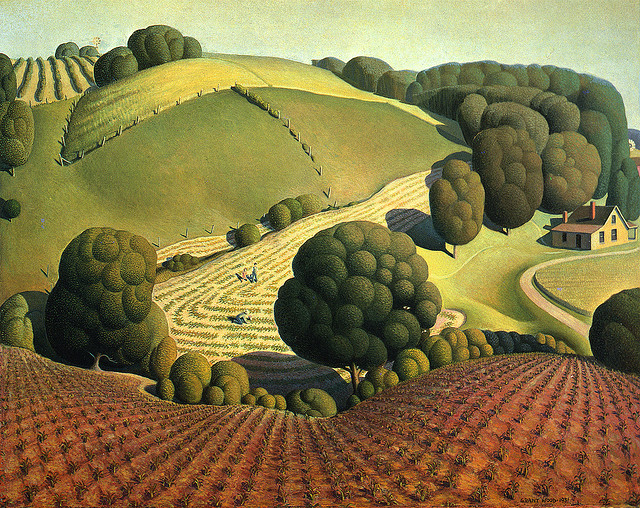
While the students practiced at their seats, I projected this images onto a white board. Volunteers came up to trace the shapes, and then I could shut the projector off so they could just see the shapes. This helped them to understand the basic compositions used to create the final art piece. To move forward on their own work, students have a handout in which they will create four small compositional sketches. A PDF is attached below.
| planning_a_landscape.pdf |
#2: Moving onto Radial Symmetry
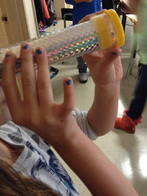
Ever look through a kaleidoscope and watch the image transform before your eyes? This type of radial symmetry was the inspiration for our next lesson. A student was kind enough to bring in her kaleidoscope that she made so that the children could take a peek.
After discussing examples of Radial Symmetry, both from the environment and art samples, students were then challenged to take boring 2" squares of paper and transform them into a dazzling design that demonstrated radial balance. I started the class by distributing 2" scrap squares. The only direction was to fold it in an interesting way. Students were given the opportunity to use the ELMO projector in class to share their folding ideas with fellow classmates. Once they practiced, they folded a 9" black squares vertically, horizontally, and both ways diagonally. This gave them lines of symmetry to work off of. It took practice, self-correcting, and even some peer-editing, but the results are remarkable!
Note: My goal is to photograph full classes and create slideshows with the class and school identified. As for now, I am still transitioning to "Art on a Cart" and will have to settle for samples until I get into the swing of things! The following is a mix from all four of my fifth grade classes.
#1: Introduction to Balance: Symmetry vs. Assymetry
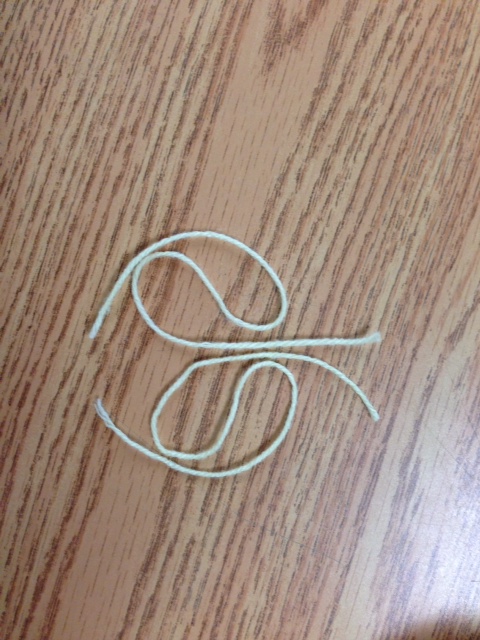
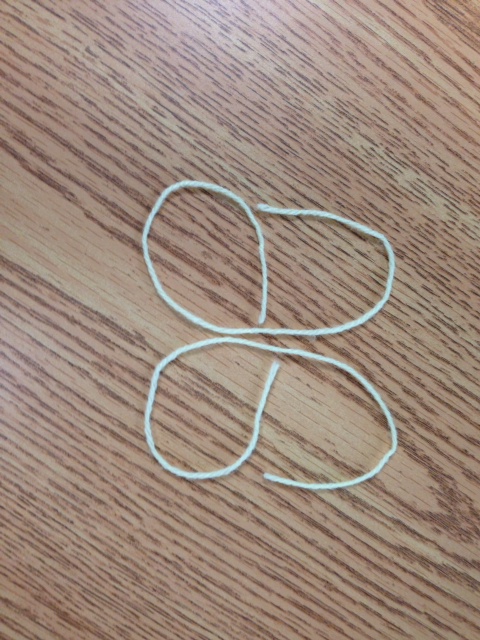
Students will be working on the concept of balance in many different ways throughout the beginning of the year. A lot of the terms are familiar to students from their experiences in Math class. In an effort to make it a hands-on experience, I had students manipulate pieces of yarn and draw these lines to record the images.
First students worked with a partner. One moved the yarn to make an interesting line, and then the other student was challenged to copy that line in a way that demonstrated bilateral symmetry, or the mirror-image.
First students worked with a partner. One moved the yarn to make an interesting line, and then the other student was challenged to copy that line in a way that demonstrated bilateral symmetry, or the mirror-image.